How to Resize Images for Printing: 5 Tips for Stunning Results Every Time

There’s nothing more satisfying than holding a beautifully printed image in your hands. Whether it’s a cherished family photo, a creative poster for your brand, or an art piece ready to grace a gallery wall, the quality of your print matters. And guess what? Proper image resizing is the secret sauce to achieving stunning print results every single time.
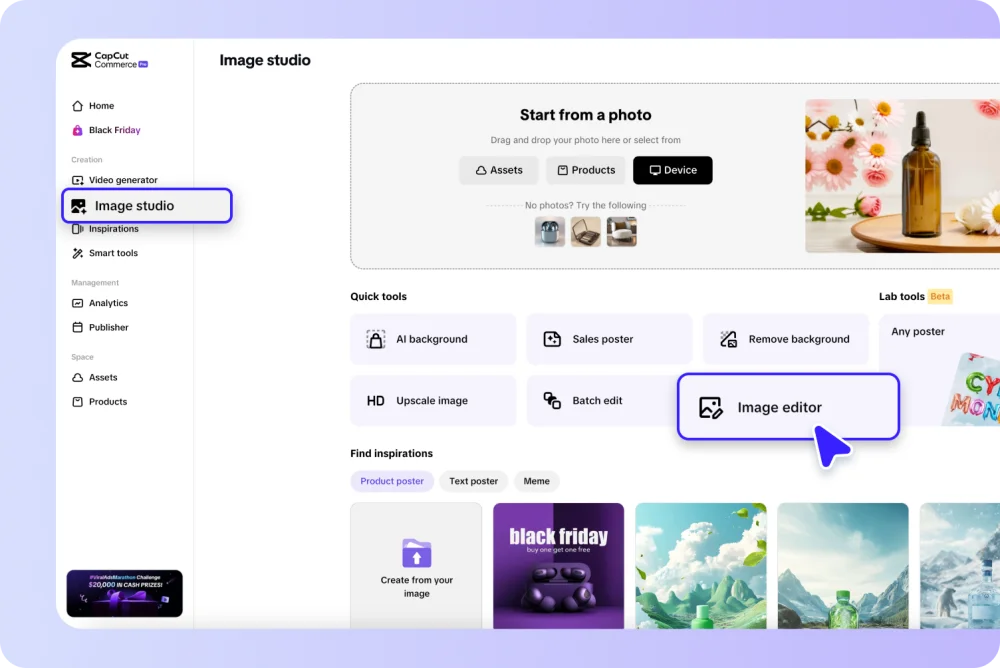
But resizing images for printing isn’t just about dragging the corners of a picture until it fits. Oh no! There’s a little science and a sprinkle of artistry involved. If you’ve been wondering how to resize an image without compromising on quality, you’re in the right place. Here’s where CapCut Commerce Pro comes in handy, making the process smooth and efficient.

Let’s dive into five essential tips to make your prints pop like a pro.
- Understand Resolution (DPI)
When it comes to printing, DPI (dots per inch) is your best friend. DPI refers to the number of tiny dots of ink that make up your image on paper. The higher the DPI, the sharper and more detailed your print will be. Standard printing typically requires at least 300 DPI for high-quality results.
Why DPI Matters:
- Low DPI results in pixelated or blurry prints, especially for large formats.
- High DPI ensures fine details, crisp edges, and vibrant colors.

Here’s a quick trick: Always check the resolution of your image before resizing it for printing. If you’re unsure how to resize image for printing, tools like CapCut Commerce Pro make the process simple while preserving your image’s sharpness and clarity.
- Start with High-Resolution Images
The saying “You can’t make a silk purse out of a sow’s ear” holds true for image resizing. Starting with a high-resolution image is non-negotiable. A low-quality source image will never magically transform into a crisp, clear print.
Tips for High-Resolution Images:
- Use a high-quality camera or scanner to capture your image.
- Avoid screenshots or images downloaded from the web at low resolutions.
- Always save images in lossless formats like PNG or TIFF for resizing purposes.

Think of it this way: Starting with a poor-quality image is like trying to build a skyscraper on a shaky foundation. It’s just not going to hold up.
- Choose the Right Resampling Method
When resizing an image, resampling is the process that adjusts the number of pixels in your image. Choosing the right method can make a significant difference in print quality. Here’s a quick rundown of common resampling methods:
- Bicubic: Best for smooth gradients and high-quality results.
- Nearest Neighbor: Works well for images with sharp edges or limited colors, like logos.
- Bilinear: A middle ground, offering decent quality for simple resizing needs.
Most editing tools let you select the resampling method during the resizing process. Take a moment to experiment and see what works best for your specific image and desired print outcome.
- Consider Print Dimensions
Let’s talk size—print size, to be exact. Understanding the relationship between your image’s resolution and its physical dimensions is crucial. For example, an image that’s 1200×1800 pixels will print beautifully at 4×6 inches at 300 DPI but might look grainy if stretched to 8×12 inches.

Steps to Get It Right:
- Calculate your print dimensions based on the DPI and pixel dimensions of your image.
- Use an image resizing tool to adjust your image without compromising on quality.
- Always preview your resized image to ensure it meets your expectations.
By keeping print dimensions in mind, you’ll save yourself from the disappointment of a stretched or squished masterpiece.
- Check and Refine
Once you’ve resized your image, it’s time for the final check. Don’t just hit “Print” and hope for the best. Take a few moments to zoom in on the image and inspect it closely. Look for any pixelation, jagged edges, or unexpected artifacts that might have crept in during the resizing process. Is the image’s composition still intact? Double-check that no important elements were cropped out or misplaced. If you’ve added text or overlays, ensure they’re still legible and aligned properly.
Before committing to a full print run, consider printing a small test sample. This gives you the chance to spot any issues that may not be obvious on a digital screen. If needed, tweak the brightness, contrast, or color balance to better match the intended print medium. Remember, different printers and paper types can slightly alter how colors appear, so minor adjustments can make a big difference.
By taking these extra steps, you’re ensuring that your prints are not just good but exceptional.
Wrapping It Up
Resizing images for printing doesn’t have to be a daunting task. With the right tools, a basic understanding of DPI, and attention to detail, you can achieve stunning results every time. Whether it’s for a professional project or a personal keepsake, these tips will ensure your prints look as fantastic as they deserve to.
Remember, the key is to start with a high-quality image, choose the right resizing method, and always double-check your work. And if you need a reliable tool to make the process smoother, platforms like CapCut Commerce Pro are here to save the day. Now go ahead and create prints that are nothing short of show-stopping!
Ti potrebbe interessare:
Segui guruhitech su:
- Google News: bit.ly/gurugooglenews
- Telegram: t.me/guruhitech
- X (Twitter): x.com/guruhitech1
- Bluesky: bsky.app/profile/guruhitech.bsky.social
- GETTR: gettr.com/user/guruhitech
- Rumble: rumble.com/user/guruhitech
- VKontakte: vk.com/guruhitech
- MeWe: mewe.com/i/guruhitech
- Skype: live:.cid.d4cf3836b772da8a
- WhatsApp: bit.ly/whatsappguruhitech
Esprimi il tuo parere!
Ti è stato utile questo articolo? Lascia un commento nell’apposita sezione che trovi più in basso e se ti va, iscriviti alla newsletter.
Per qualsiasi domanda, informazione o assistenza nel mondo della tecnologia, puoi inviare una email all’indirizzo [email protected].
Scopri di più da GuruHiTech
Abbonati per ricevere gli ultimi articoli inviati alla tua e-mail.
