How to Set Up NAS Storage for Your Home Network

As our digital lives expand, the need for reliable home data storage solutions has become increasingly critical. From family photos and home videos to important documents and media collections, managing and protecting our growing digital assets presents a significant challenge for modern households.
Network Attached Storage (NAS) provides a whole other sophisticated way to do it by adding a centralized storage system that is accessible from all devices in your home network. Traditional external hard drives would need to be physically connected, which limits access to a single device, but NAS creates a personal cloud friends and family can access in the home.
However, many users find themselves intimidated by the technical aspects of NAS setup, struggling with unfamiliar networking protocols and installation procedures. The prospect of configuring routers, managing file permissions, and ensuring proper security can seem daunting to those without IT backgrounds.
This guide breaks down the process into manageable steps, helping both tech novices and IT support professionals establish a robust NAS system. We’ll address common setup challenges, explain crucial networking concepts in plain language, and provide practical solutions for maintaining your home storage network.
Understanding NAS Storage for Home Use
Network Attached Storage (NAS) is a definite upgrade over the usual external hard drive: it acts like a mini-server for your home network. NAS devices, unlike USB-connected drives that restrict access to a single computer, form a centralized storage hub that is accessible by all your household devices at once. That means family members can watch movies on their tablets as you back up your laptop, all without moving cables or copying files between machines.
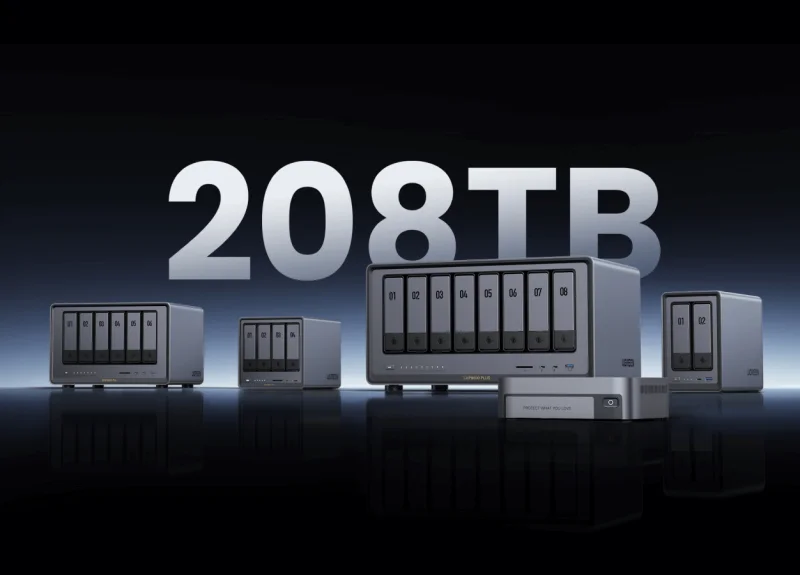
This is only the beginning of what NAS can do — the real strength of NAS is its flexibility and scalability. Built to work with several hard drives like Ugreen’s modern NAS systems, it lets you begin with a small amount of storage and add to it as demand increases. Numerous units feature RAID, which automatically replicates your data across drives for protection against hardware failure. NAS devices can do more than store files: They can host media servers, run automated backups and even run personal cloud services, which let you securely access your files from anywhere in the world.
For home users, the biggest benefits are easy file sharing between family members, automatic backup protection for all your devices, and the ability to stream your media collection to smart TVs and mobile devices. A NAS is always on, which allows you to access your files without having to leave a computer running, making a NAS a convenient and electricity-saving solution for your home.
Step-by-Step NAS Installation Guide
Pre-Installation Checklist
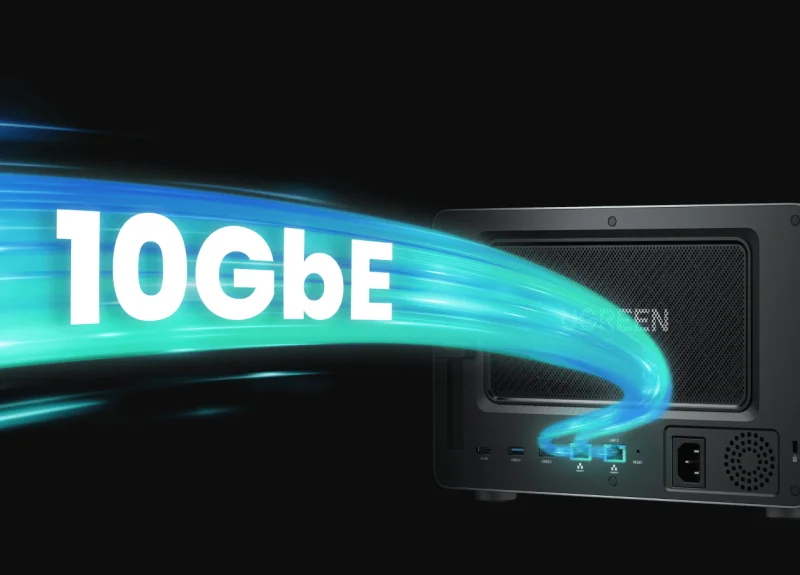
When setting up your NAS, make sure you have a stable and reliable internet connection of at least 100Mbps and a UPnP-capable router. You will need the NAS device itself, HDDs that are compatible with your chosen unit and an Ethernet cable. Remove a well-ventilated area by your router, ideally in a dust-free space. Make sure any network devices, like routers or mesh Wi-Fi systems, are on up-to-date firmware versions and write down your router’s IP address range for later configuration.
Setting Up Your NAS Device
Follow the manufacturer’s docs for proper orientation, and then get your hard drives installed in the NAS bays. Plug in your NAS to a power source and connect it to your router via the Ethernet cable. If your NAS is a modern system, it will likely have a DHCP client running and will automatically obtain an IP address. Enter its IP address into a web browser (or manufacturer’s discovery tool) to reach its web interface. Now as you are installing for the first time on this new system, you will have an initial setup wizard to configure some basic settings like admin password, device name, network parameters, etc.
Router Configuration Essentials
For best performance on NAS, make sure to configure your router to assign a static IP address for your NAS device. This also solves the cumbersome issue of changing IP addresses which results in connection issues. If not, set up port forwarding for remote access: generally port 80 (HTTP) and port 443 (HTTPS), while specific ports for file sharing protocols. If you’ll be streaming media, set up Quality of Service (QoS) rules to prioritize NAS traffic. Try accessing the NAS from different devices on your network to test your configuration.
Simplifying File-Sharing Protocols
To do this, familiarize yourself with file-sharing protocols. SMB (Server Message Block) is the most flexible protocol with native support for Windows, macOS, and Linux systems. Its most recent iteration, SMB3, offers better performance for a home network and enhanced security features. AFP (Apple Filing Protocol) provides better performance with older Mac devices, but Apple now recommends SMB for use with current systems, which means those Macs may have to adapt with the times.
NFS really is geared toward Linux and Unix machines, providing great performance for technical users willing to configure through the command line. SMB offers the best combination of compatibility and simplicity for most home configurations. Use user-based permissions when configuring shared folders so you can minimize access across your household. Add separate shares for media streaming, backups, and sensitive documents and make them read-only so they do not get corrupted.
Security considerations should focus on strong passwords, encrypted connections, and regular security updates. Enable protocol-specific encryption options, especially when accessing files remotely. Disable unused protocols to minimize potential security vulnerabilities, and consider implementing two-factor authentication for sensitive data access.
Advanced Router Configuration for NAS
NAS Setup Secure and Performance in Dedicated Network Segments Creating VLANs to separate NAS traffic from general internet browsing will eliminate overloading your home network and the potential for user error to expose your NAS to unwanted access. Segment guests from your LAN and even assign your NAS, mobile devices, and computers to a high-priority segment. File transfers are limited to reasonable speeds and unauthorized access attempts are kept to a minimum behind the segmentation.
QoS settings are vital to accomplish steady NAS performance. Prioritize the NAS within your router settings, at least during peak use times. Configure bandwidth limitations on less-critical services, such as backups and media streaming, to guarantee upper for essential NAS activities. Set QoS rules so that SMB/AFP traffic holds more weight during the day, but multimedia streaming gets priority by night for entertainment.
Instead of port forwarding, always create a VPN connection for secure remote access. Most modern routers support WireGuard or OpenVPN protocols that will provide encrypted tunnels back to your home network. Configure split-tunneling so that only NAS-related traffic goes through the VPN, and other things maintain the normal internet speed. Until then, regularly update router firmware and access logs to keep your network secure, while still being convenient.
Troubleshooting and 24/7 Support Strategies
Common NAS Issues for Home Users
NAS issues typically start and end with network connectivity problems. Check the basic network connection and power status before your device becomes inaccessible. Generally, the slow transfer speed is caused by network congestion or wrong QoS configuration; check your router settings and try to test at non-peak hours. Permission errors are common following system updates or user account changes; in such cases, we recommend checking and resetting your folder access rights directly from your NAS administration panel.
IT Support Best Practices
Use built-in diagnostic tools to quickly find out what the issues are. The most common utilities found in NAS systems are network testing, disk health monitoring, and system logs. Set up remote access ahead of issues by configuring secure inlets such as VPNs and enabling manufacturer support features. Document your home network, such as IP addresses, port forwarding rules, and shared folder structures to help make troubleshooting faster.
Implementing Proactive Monitoring Systems
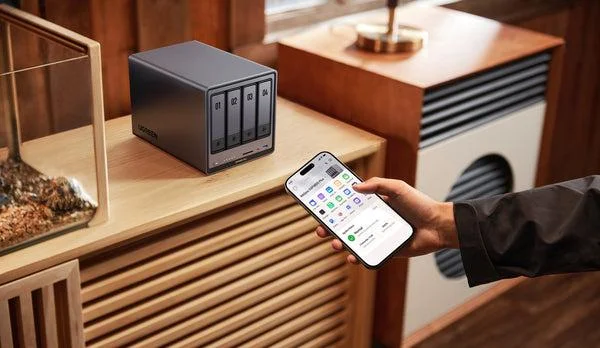
Create automated email notifications for critical events such as disk failures, backup failures, or abnormal access patterns. Download and install your manufacturer’s mobile management application for instant notifications and remote administration. Schedule routine maintenance windows to install firmware updates and check disk health. As a software architect, you are responsible for taking care of all logs and reducing the risk of data loss by backing up your Linux server regularly. Implement SMART disk monitoring to preemptively track if a drive is failing before it affects your data availability.
Final Thoughts on NAS Storage Implementation
Configuring a NAS system changes how people in the present store, manage, and secure their digital belongings. Now that you’ve properly done any necessary installations and have gotten up and running with strong security, you have set a very solid base for your home network storage. Immediate value to every family member is provided by the promise of centralized accessibility, automated backups, and instantaneous media streaming.
Regular maintenance and monitoring ensure your NAS continues performing optimally while safeguarding precious memories and important documents. Remember that successful home network storage isn’t just about the initial setup – it’s an ongoing commitment to security updates, performance optimization, and proactive issue prevention.
With a digital library that never stops growing, your NAS system will grow with your changing needs. The initial time spent on configuration and security pays dividends in terms of improved data security, easier file sharing, and reduced mental stress. As such, you can take great pride in creating a pro-level storage system that meets your current needs while future-proofing your home for whatever new digital content comes along.
Ti potrebbe interessare:
Segui guruhitech su:
- Google News: bit.ly/gurugooglenews
- Telegram: t.me/guruhitech
- X (Twitter): x.com/guruhitech1
- Bluesky: bsky.app/profile/guruhitech.bsky.social
- GETTR: gettr.com/user/guruhitech
- Rumble: rumble.com/user/guruhitech
- VKontakte: vk.com/guruhitech
- MeWe: mewe.com/i/guruhitech
- Skype: live:.cid.d4cf3836b772da8a
- WhatsApp: bit.ly/whatsappguruhitech
Esprimi il tuo parere!
Ti è stato utile questo articolo? Lascia un commento nell’apposita sezione che trovi più in basso e se ti va, iscriviti alla newsletter.
Per qualsiasi domanda, informazione o assistenza nel mondo della tecnologia, puoi inviare una email all’indirizzo [email protected].
Scopri di più da GuruHiTech
Abbonati per ricevere gli ultimi articoli inviati alla tua e-mail.