How to Bypass ZTE FRP Lock: A Detailed Tutorial
FRP is a security feature designed by Google to prevent unauthorized access to your device after a factory reset. While it’s an effective deterrent against theft, it can be frustrating if you forget your Google account credentials or encounter other issues. This detailed tutorial will guide you through the process of ZTE FRP bypass.
By following the guide, you’ll be able to regain access to your device without security risks. We will also introduce you to an advanced Android phone unlocker that can help you bypass FRP. Read on to discover clear and actionable instructions for restoring full control of your device.
Part 1. Bypass ZTE FRP Using the Set Up Offline Technique
Many techniques and workarounds are available to help you remove this lock from your mobile. Specific to ZTE devices is the offline setup method, which can help bypass the FRP lock without needing any app or software. Since it exploits a firmware vulnerability, it is not guaranteed to work for everyone. Those who want to try this technique for ZTE A34 FRP bypass can follow these steps:
Step 1
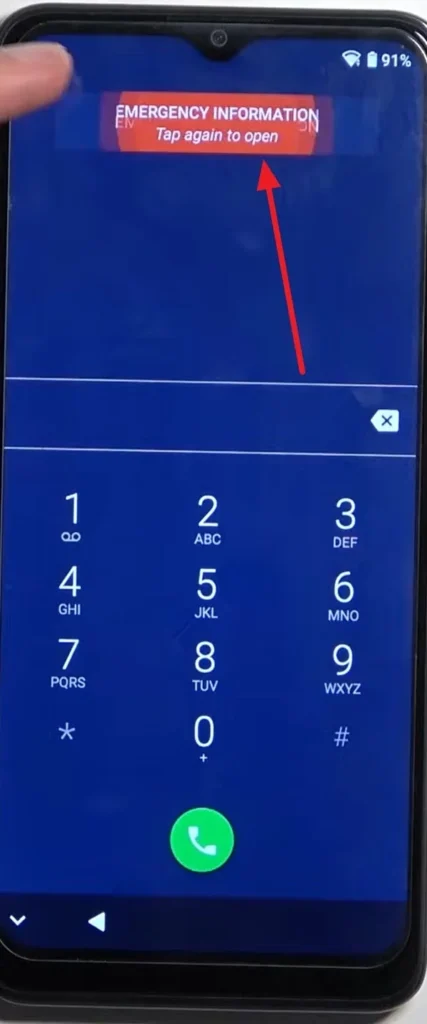
Begin by turning on your mobile and pressing “Start” to connect your phone to the internet. Now, move back to the main screen to tap “Emergency Call” and hit “Emergency Information” twice on the next screen.
Step 2
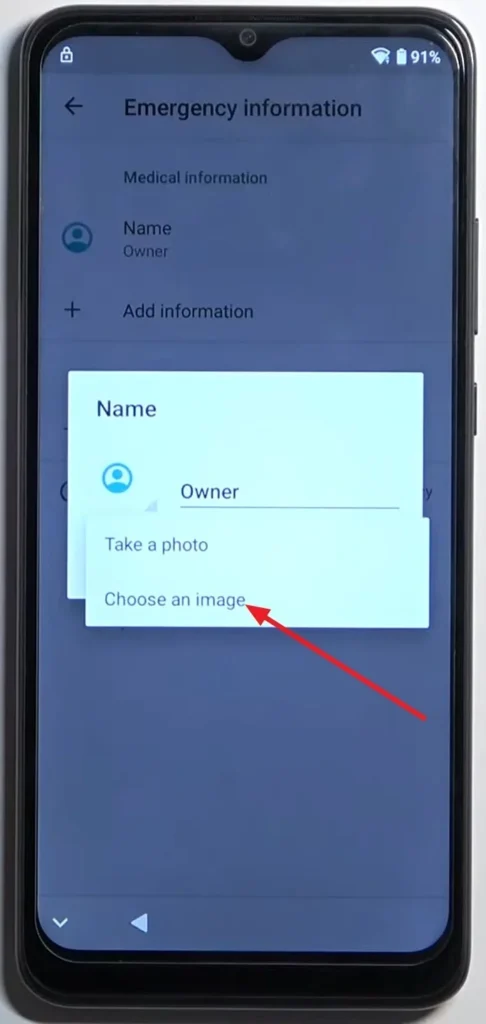
Next, press the Pen icon in front of “Emergency Information” from the top right corner and select the “Owner” option. Then, tap the DP icon next to “Owner” and select “Choose an image” to proceed.
Step 3
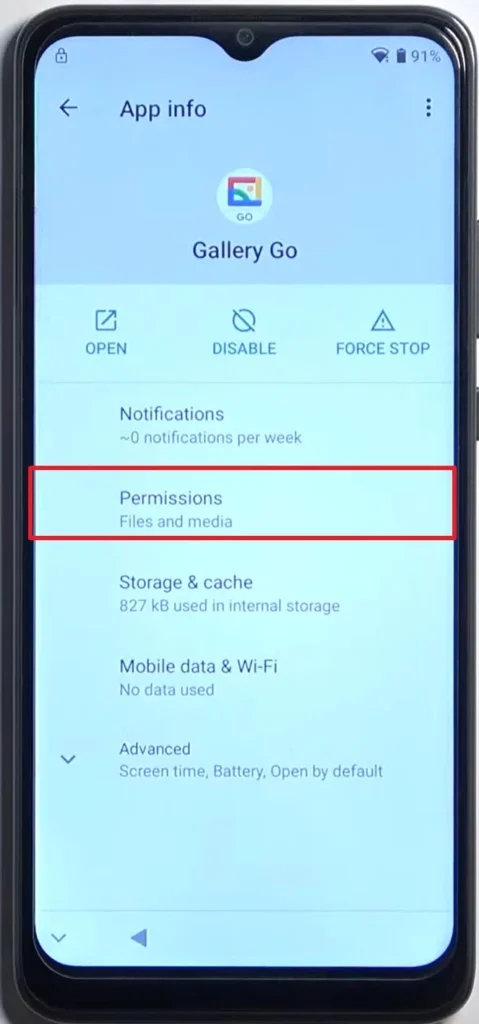
On the following screen, press the “Three Lines” icon from the top left corner and long-press the “Gallery Go” option to access the App Info screen. Here, opt for “Permissions” and use the Search icon on the next window to look for “Settings.”
Step 4
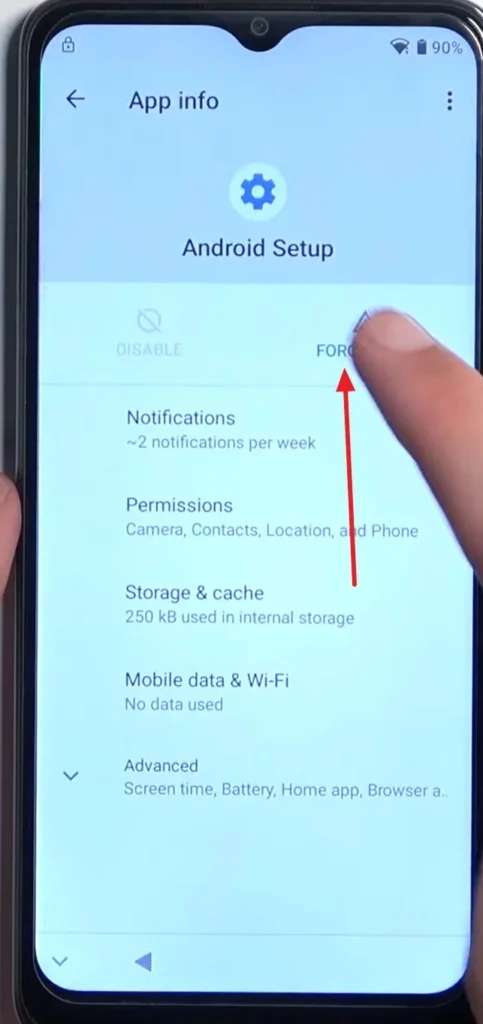
Use “Open” to launch the Settings app from its “App Info” screen and move to the “Apps & Notifications” tab. Here, press “See All Apps” and select “Android Setup” on the next screen to “Force Stop.”
Step 5
Following this, find “Google Play Services” to opt for “Disable” and “Force Stop” from its App Info screen. Afterward, move back to the very first screen to press “Start” and access the “Connect to Wi-Fi” page.

Step 6
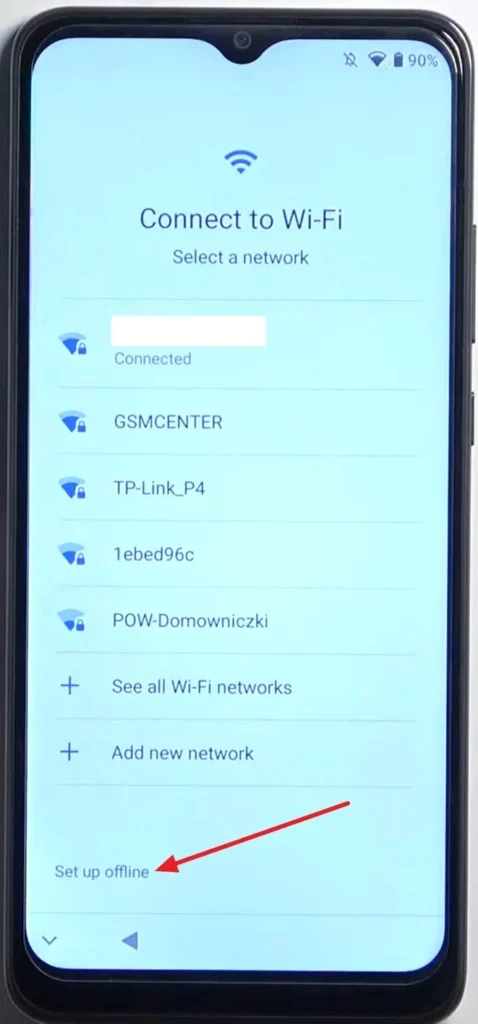
Here, check if the “Set Up Offline” option has appeared on this screen. If it has, go back and repeat steps 1 to 4 until you reach the screen after tapping “See All Apps” in “Apps & Notifications.”
Step 7
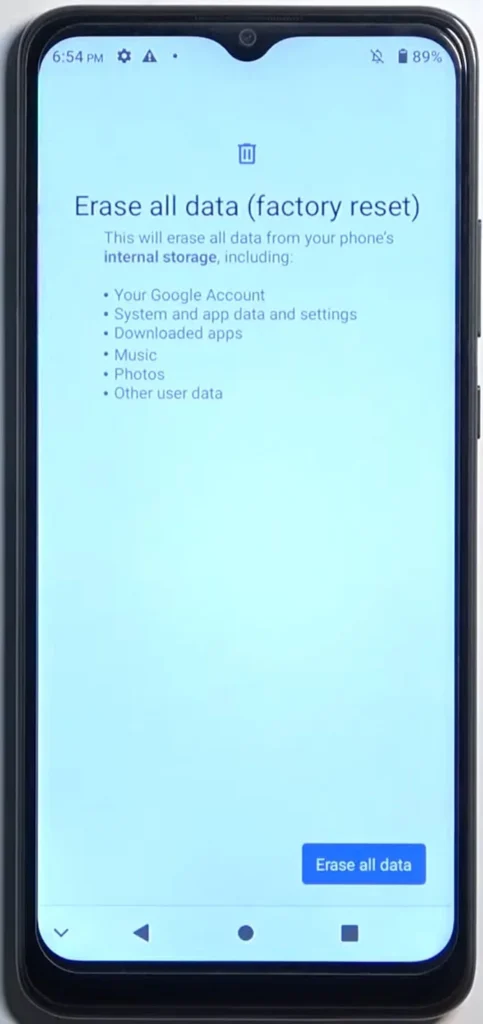
Now, find “Google Play Services” again to “Enable” them and move back to the first screen to tap “Start.” From the “Connect to Wi-Fi” screen, press “Set Up Offline” and proceed to complete the device setup process. Once you have done that, factory reset your ZTE phone to remove the FRP lock fully.
Part 2. The Best ZTE FRP Bypass Tool: Dr.Fone – Screen Unlock (Android)
As mentioned before, firmware exploitation techniques are highly unreliable and involve complex steps. This is where dedicated tools come into play, offering precision and reliability to bypass FRP locks effectively. Among the many options available, Dr.Fone – Screen Unlock (Android) stands out as a trusted tool designed specifically for unlocking various Android devices.
Besides, this software is famous for removing all locks without affecting the phone’s integrity. It simplifies the process of bypassing FRP locks, ensuring that even users with minimal technical expertise can regain access to their devices.
The step-by-step guidance makes it a preferred choice for those dealing with Google account verification issues. In addition, this Android phone unlocker supports a wide range of Android brands, including ZTE, and delivers a high success rate. With it, you quickly gain a reliable solution to lock-related Android problems.
Part 3. Detailed Guide on How to Perform ZTE FRP Bypass via Dr.Fone – Screen Unlock (Android)
This Android unlocker ensures a smooth and error-free experience, allowing you to unlock your phone quickly and securely. Follow the elaborate steps below carefully to regain access to your mobile without a hitch:
Step 1. Choose to Remove Google FRP Lock and Select ZTE as the Brand
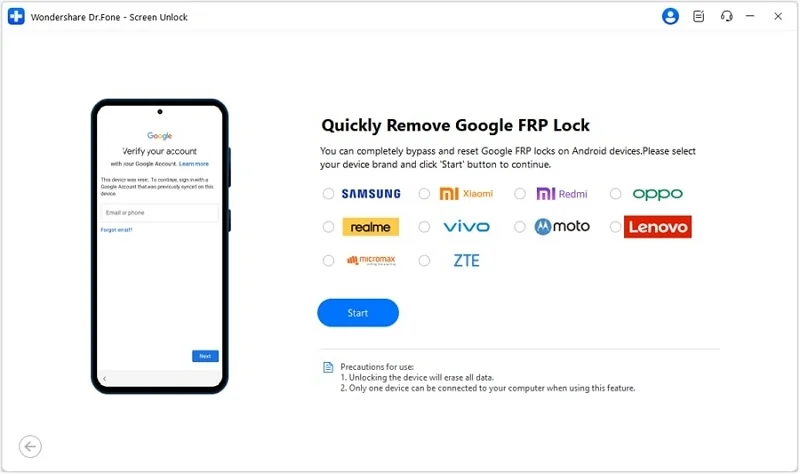
After installing the program by following the on-screen instructions, proceed to choose “Screen Unlock” in the “Toolbox” tab. Following that, opt for “Android” when asked for the device type and click “Remove Google FRP Lock” to continue. At this point, ensure your mobile is attached to the computer before selecting ZTE as your phone brand.
Step 2. Download the Driver to Bypass ZTE FRP
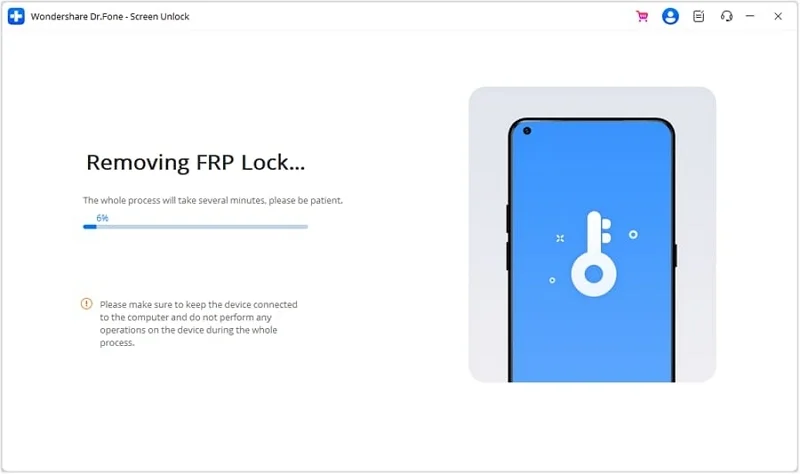
Once you have chosen the brand from the “Quickly Remove Google FRP Lock” screen, hit “Start.” Next, the program will download the relative driver to perform this operation. Once done, turn off your phone and reconnect it to the system while holding the “Volume Up” and “Volume Down” buttons for at least three seconds. Doing this will start the ZTE FRP bypass process, which will take a few moments.
Conclusion
In summary, the ZTE FRP bypass process doesn’t have to be daunting. While you can use the Set-up Offline technique, it is complex and unreliable. The more comprehensive Dr.Fone – Screen Unlock (Android) tool lets you regain access to your device with the right approach.
Hence, we highly recommend Wondershare Dr.Fone for an effortless and reliable solution. Its high success rate makes it the ultimate tool for tackling FRP issues effectively.
Ti potrebbe interessare:
Segui guruhitech su:
- Google News: bit.ly/gurugooglenews
- Telegram: t.me/guruhitech
- X (Twitter): x.com/guruhitech1
- Bluesky: bsky.app/profile/guruhitech.bsky.social
- GETTR: gettr.com/user/guruhitech
- Rumble: rumble.com/user/guruhitech
- VKontakte: vk.com/guruhitech
- MeWe: mewe.com/i/guruhitech
- Skype: live:.cid.d4cf3836b772da8a
- WhatsApp: bit.ly/whatsappguruhitech
Esprimi il tuo parere!
Ti è stato utile questo articolo? Lascia un commento nell’apposita sezione che trovi più in basso e se ti va, iscriviti alla newsletter.
Per qualsiasi domanda, informazione o assistenza nel mondo della tecnologia, puoi inviare una email all’indirizzo [email protected].
Scopri di più da GuruHiTech
Abbonati per ricevere gli ultimi articoli inviati alla tua e-mail.