 Albanian
 Arabic
 Chinese (Simplified)
 English
 French
 German
 Italian
 Portuguese
 Russian
 Spanish
How to Erase the iOS 17.5 Old Photo Resurfacing Bug in One-Click
Usually, iOS updates are introduced to provide new features and eliminate existing bugs from the iPhone operating systems. However, this time people are complaining about new bugs after installation of system update. Many Reddit users have shown there concern related to the old pictures resurfacing in their iPhone galleries.
Tech experts are not sure about the cause of this iOS bug, as they haven’t seen something like this before. Irrespective of the cause, you can utilize Wondershare Dr.Fone – Data Eraser to solve this issue. Throughout this article, we will discuss the severity of this problem and its best solution.
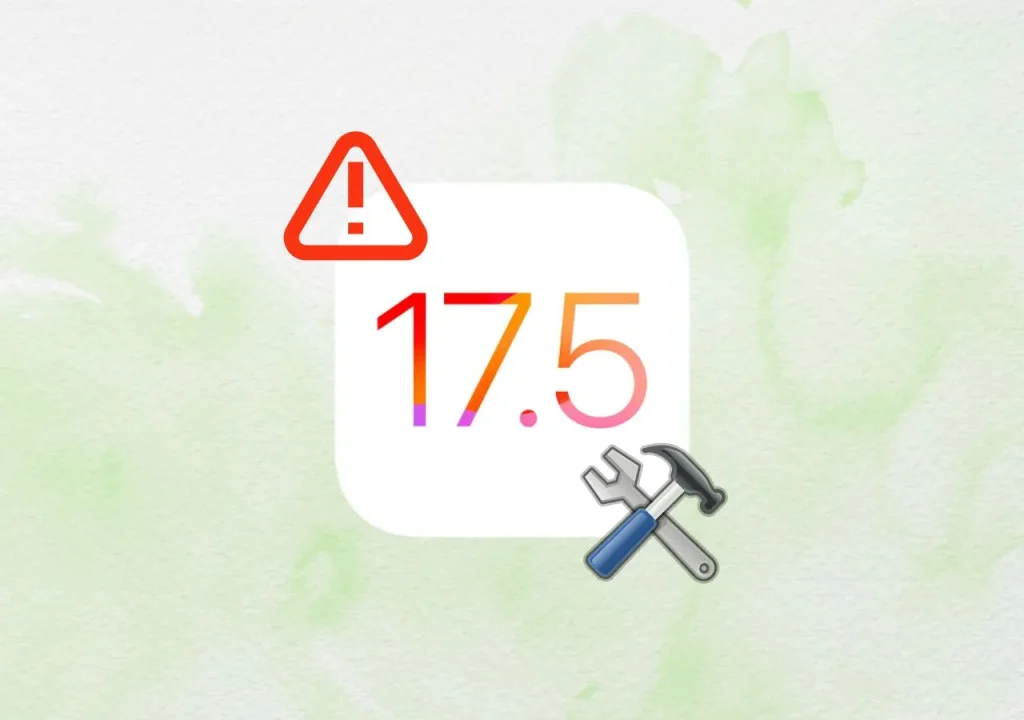
Part 1. A Comprehensive Overview of iOS 17.5 Deleted Photo Resurfacing Bug
As mentioned, many Reddit users are complaining about random photos reappearing in their iCloud photo library. With the release of iOS 17.5 last week, Apple aimed to solve any bug in their operating system. However, things got worse when users started to see their deleted pictures in the most recent section of the photo library. One Reddit user claimed seeing pictures deleted in 2010 even after deleting them multiple times.
Another user talked about a similar bug that appeared in iOS 8.1 when users could not delete their photos. This bug even shows pictures deleted from other devices connected to the same iCloud account. People are also worried about their privacy as these deleted pictures may show up on the wrong device. The most concerning thing is that photos appear randomly from any year, so you don’t know what to expect.
Moreover, people are speculating that this bug appeared due to photo library corruption or syncing issues. However, no one has an accurate idea related to this photo resurfacing bug. Apple is still silent on this issue and hasn’t made any official statement yet.
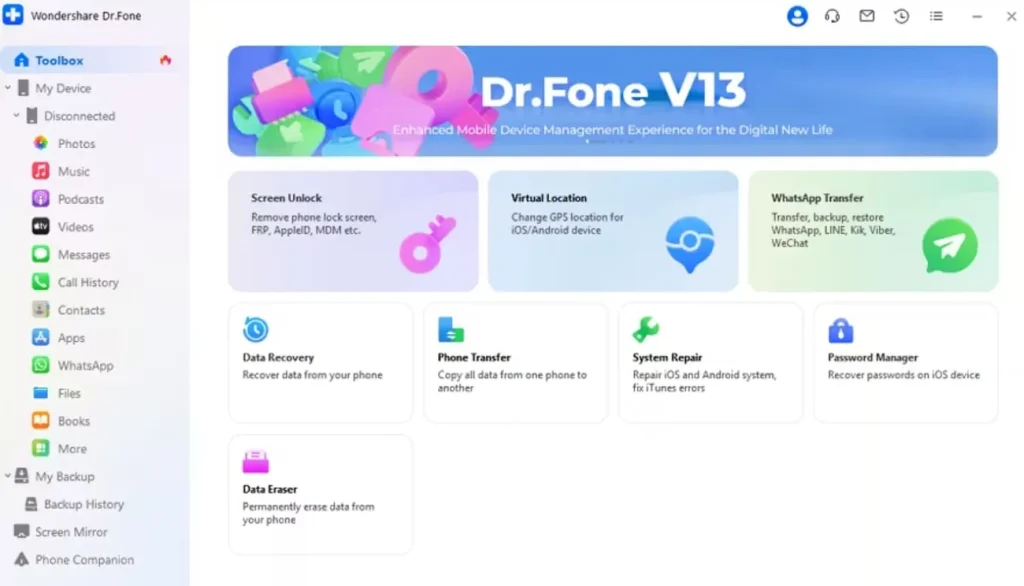
Part 2. Wondershare Dr.Fone – Best iOS Eraser for Pictures Resurfacing Issue
If you are also facing this photo resurfacing issue, you might be looking for the best solution to remove them permanently. In this regard, third-party photo iPhone data erasers can make life easier for you. So, iPhone users who are tired of this bug in iOS 17.5 should take help from Wondershare Dr.Fone– Data Eraser. With its iOS data-erasing capabilities, you can remove all unwanted pictures in a single click.
Now, you don’t have to worry about memories resurfacing on your phone. After erasing your photos using this efficient tool, they will be gone forever from your device. Moreover, this iOS data eraser allows you to preview images before removing them, which will help you avoid deleting pictures you want to keep.
Key Features
- Using this innovative tool, you can clear junk files after updating to iOS 17.5 to speed up your iPhone.
- This tool lets you erase all kinds of data from your device, including contacts and messages.
- Other than photos, users can even remove unwanted videos from their iPhones to maintain privacy.
- With this iOS data eraser, users can even erase third-party apps like WhatsApp and Viber from their iOS 17.5 device.
Step-by-Step Guide to Remove iPhone Data Permanently Using Dr.Fone – iOS Eraser
After understanding the iOS 17.5 photo resurfacing bug, we have discussed the best solution to this problem. Now, let’s move forward to get the know-how of the workings of this tool to erase iPhone data to secure privacy:
Step 1. Access the Data Eraser Feature on Dr.Fone
After connecting your iPhone to the computer, launch Wondershare Dr.Fone to start the data-erasing process. Once the connection is established through cable, press the “Data Eraser” feature from the “Toolbox” tab.
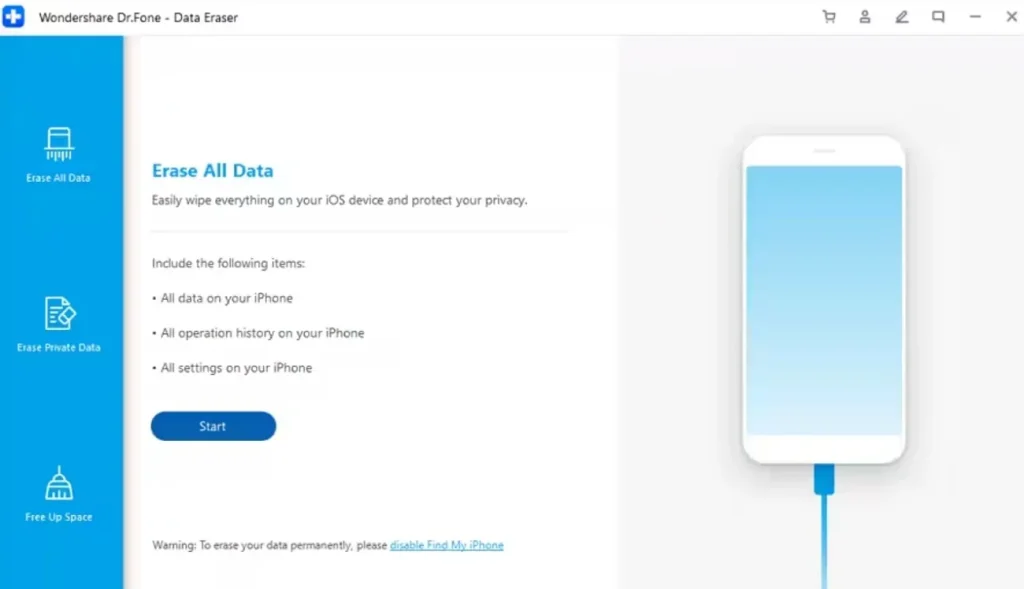
Step 2. Start the Data Removal Process
Upon reaching a new screen, switch to the “Erase All Data” tab to remove all photos on your iPhone. Next, hit the “Start” button to initiate the photo-erasing process.
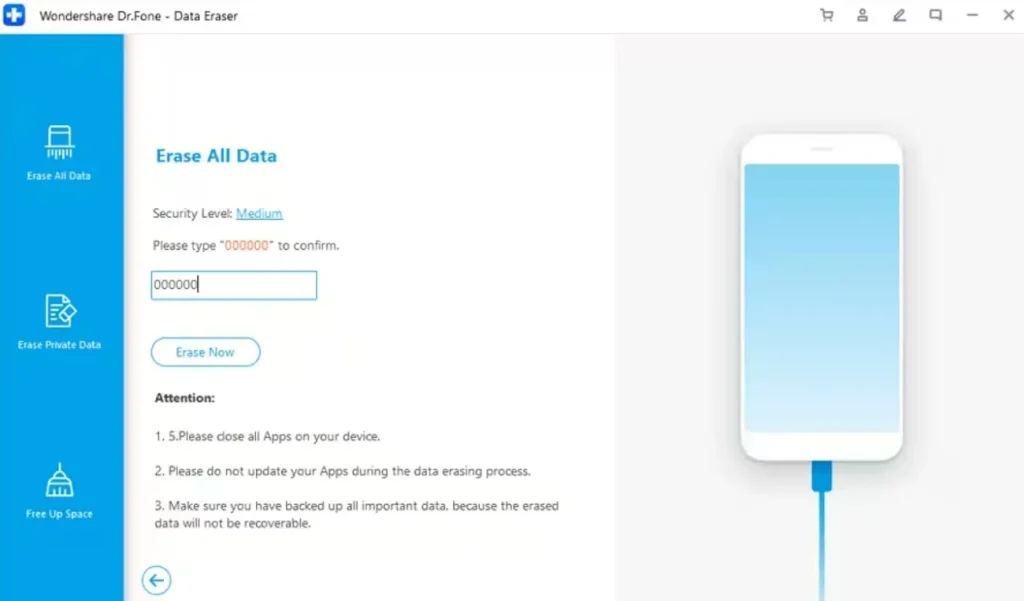
Step 3. Optimize Security Level While Using Photo Eraser
Moving forward, choose your desired level from the options under the “Security Level” section. We recommend you pick the higher security level for a permanent removal of photos.

Step 4. Finalize the Photo-Erasing Process
Once you reach the next screen, type “000000” in the relevant text box to authenticate the process. Now, hit the “Erase Now” button to start the process of removing old photos from the iOS 17.5 device.
Conclusion
All in all, we can say that no one is fully aware of the cause of this iOS 17.5 photo resurfacing bug. If you haven’t updated to the latest version, we recommend you keep using the older one till Apple fixes this bug. However, users who have started facing this issue can utilize Wondershare Dr.Fone – iOS Data Eraser. With its one-click photo-erasing feature, you can avoid this annoying issue.
Ti potrebbe interessare:
Segui guruhitech su:
- Google News: bit.ly/gurugooglenews
- Telegram: t.me/guruhitech
- X (Twitter): x.com/guruhitech1
- Bluesky: bsky.app/profile/guruhitech.bsky.social
- GETTR: gettr.com/user/guruhitech
- Rumble: rumble.com/user/guruhitech
- VKontakte: vk.com/guruhitech
- MeWe: mewe.com/i/guruhitech
- Skype: live:.cid.d4cf3836b772da8a
- WhatsApp: bit.ly/whatsappguruhitech
Esprimi il tuo parere!
Ti è stato utile questo articolo? Lascia un commento nell’apposita sezione che trovi più in basso e se ti va, iscriviti alla newsletter.
Per qualsiasi domanda, informazione o assistenza nel mondo della tecnologia, puoi inviare una email all’indirizzo guruhitech@yahoo.com.
Scopri di più da GuruHiTech
Abbonati per ricevere gli ultimi articoli inviati alla tua e-mail.