
A Complete Guide to Setting Up Variation Swatches as Radio Buttons in WooCommerce
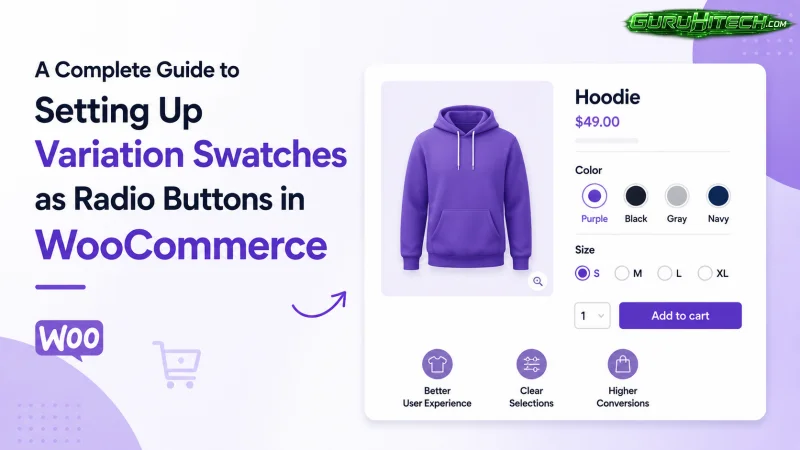
Replacing the default WooCommerce dropdown menus with a more visual solution is one of those improvements that can completely change how customers interact with your store. A properly configured setup with WooCommerce colour swatches makes product variations easier to understand, quicker to select, and far more engaging compared to standard dropdown fields.
In this guide, you will learn how to configure the Variation Swatches as Radio Buttons for WooCommerce plugin by Extendons step by step, from installation to advanced customization. The tutorial covers global settings, tooltip configuration, attribute mapping, product-level controls, and optimization tips to create a professional visual variation system across your WooCommerce store.
Why WooCommerce colour swatches improve product pages
Default WooCommerce variation dropdowns work, but they are rarely the best option for user experience. Customers often have to open menus repeatedly just to preview available colours, sizes, materials, or styles.
Using variation swatches for WooCommerce creates a much more intuitive shopping experience because visitors can instantly see available options visually instead of reading through long dropdown lists. This reduces friction during product selection and often improves engagement on both product pages and category pages.
The Variation Swatches as Radio Buttons for WooCommerce plugin by Extendons is one of the more complete solutions available because it supports:
- Colour swatches
- Image swatches
- Text labels
- Radio buttons
- Dual-colour swatches
- Tooltip customization
- Product image switching
- Shop page swatches
- Product-level overrides
The setup process is easier when completed in the correct order, starting from installation and moving gradually through the plugin settings before configuring individual products.
How to install the Variation Swatches plugin in WooCommerce
Before configuring your WooCommerce colour swatches, the plugin must first be installed and activated inside WordPress.
Start by downloading the plugin ZIP file from your WooCommerce account purchases section.
Once downloaded, follow these steps inside your WordPress dashboard:
- Go to Plugins > Add New
- Click Upload Plugin
- Select the plugin ZIP file
- Click Install Now
- Activate the plugin
After activation, the plugin settings become available under:
WooCommerce > Settings > Variation Swatches
This section contains all global configuration options, including shape settings, tooltip controls, border styling, attribute mapping, and product display behaviour. Configuring these settings correctly from the beginning helps avoid repetitive manual adjustments later.
General settings configuration for WooCommerce variation swatches
The General Settings section controls how the variation swatches behave across the entire WooCommerce store.
Out-of-stock variation display
The plugin allows you to choose how unavailable product variations appear to customers.
You can select between:
- Cross: displays a line through unavailable swatches
- Blur: fades unavailable options visually
- Hide: completely removes unavailable swatches
For most stores, the “Cross” option works best because customers can still see that a variation exists even if it is temporarily unavailable.
Product image switching on shop pages
This setting controls how product images react when customers interact with swatches on category or shop pages.
The available options are:
- Change image on click
- Change image on hover
Hover previews usually create a more fluid browsing experience, especially for stores with many colour variations.
Choosing where swatches appear
You can decide how broadly the swatches should be displayed across your catalogue.
The plugin supports:
- All variable products
- All variable products except selected products
- Specific variable products only
This flexibility is useful because not every product type benefits equally from visual swatches.
Variation URL generation
One of the more useful SEO and usability features is the ability to generate direct links for specific variations.
When enabled, each variation receives a unique shareable URL that automatically pre-selects the correct product attributes when opened.
This can improve user experience when sharing products through email campaigns, ads, or social media.
Shape settings for WooCommerce colour swatches
The Shape Settings section controls the appearance of your swatches on product and shop pages.
Round or square swatches
You can choose between:
- Round swatches
- Square swatches
Round swatches generally work better for colour-based products, while square swatches suit more minimal or editorial-style store designs.
Swatch dimensions
The plugin lets you define custom width and height values in pixels.
This is particularly useful because shop page swatches often need to remain compact, while product page swatches can be larger for easier interaction.
Label font size
If you use text-based swatches, you can also adjust the font size to maintain readability and visual balance.
Tooltip settings and customization
Tooltips may seem like a minor feature initially, but they significantly improve product variation clarity without adding visual clutter to the product page.
The plugin includes several tooltip customization options.
Enabling tooltips globally
You can enable tooltips for all swatches directly from the Tooltip Settings section.
Once activated, hovering over a swatch displays additional information automatically.
Tooltip style customization
The plugin allows you to customize:
- Font size
- Background colour
- Text colour
Matching tooltip styling with your store branding creates a more professional and cohesive appearance.
Tooltip content type
One of the most important settings is choosing the tooltip content format.
Available options include:
- Text tooltips
- Image tooltips
Text tooltips are useful for displaying colour names or attribute labels, while image tooltips work especially well for image-based variations where customers benefit from larger previews before selecting an option.
Border settings for a cleaner swatch design
The Border Settings section improves the visual definition of swatches, especially for light colours or image variations.
You can independently enable borders for:
- Image swatches
- Label swatches
The border colour can also be customized to match your store’s branding or maintain a neutral interface style.
A subtle border often makes colour swatches appear cleaner and more polished across different backgrounds.
Mapping WooCommerce attributes to swatch types
The Map Attributes to Swatch Type section is one of the most important parts of the entire setup.
Every WooCommerce product attribute can be assigned a specific swatch type depending on its purpose.
The plugin supports:
- Colour swatches
- Image swatches
- Text labels
- Radio buttons
For example:
- Colour attributes work best with colour swatches
- Material or texture attributes often benefit from image swatches
- Size attributes usually work better as text labels or radio buttons
This flexibility allows each product attribute to display in the most logical and user-friendly format.
The plugin also lets you configure separate sizing options for product page swatches independently from shop page swatches, which helps maintain better layout consistency across the store.
Product-level WooCommerce swatch configuration
After configuring the global settings, individual products can receive their own custom swatch behaviour.
To access product-level controls:
- Open a variable product inside WooCommerce
- Go to the Product Data section
- Select the Attribute Swatches tab
Inside this section, you will find several advanced customization options.
Enable custom swatches for individual products
You can activate product-specific swatch settings independently from the global configuration.
This is useful when certain products require different layouts or display behaviour.
Reset to global defaults
If needed, product-level customizations can easily be removed to restore the default global settings.
Shop page attribute selection
You can choose which attribute appears directly on shop and category pages for each individual product.
For example, one product may display colour swatches while another displays size labels instead.
Custom swatch value configuration
Every attribute value can receive its own swatch style.
You can configure:
- Single-colour swatches
- Dual-colour swatches
- Image-based swatches
- Text labels
- Radio buttons
Dual-colour swatches are particularly useful for products with two-tone variations because both colours can appear within the same swatch tile.
Testing your WooCommerce variation swatches before launch
Before making the new variation system live, it is important to test everything from the customer perspective.
Check the following carefully:
- Swatches display correctly across all products
- Tooltip behaviour works properly
- Out-of-stock variations display correctly
- Product image switching functions smoothly
- Variation URLs open the correct selections
- Swatch dimensions remain visually consistent
Testing multiple products with different attribute types helps identify layout inconsistencies before customers encounter them.
Final thoughts on WooCommerce variation swatches
Setting up WooCommerce colour swatches properly creates a noticeably smoother shopping experience, even if customers do not consciously realize why product pages suddenly feel easier to use.
The Variation Swatches as Radio Buttons for WooCommerce plugin by Extendons offers a complete set of tools for transforming standard WooCommerce variation dropdowns into a more visual, interactive, and user-friendly system.
When configured correctly, variation swatches help customers browse products faster, preview options more clearly, and complete purchases with less friction compared to the default WooCommerce variation interface.
Scopri di più da GuruHiTech
Abbonati per ricevere gli ultimi articoli inviati alla tua e-mail.