
Photo to Video AI: A Practical Guide to Turning Still Images into Moving Stories
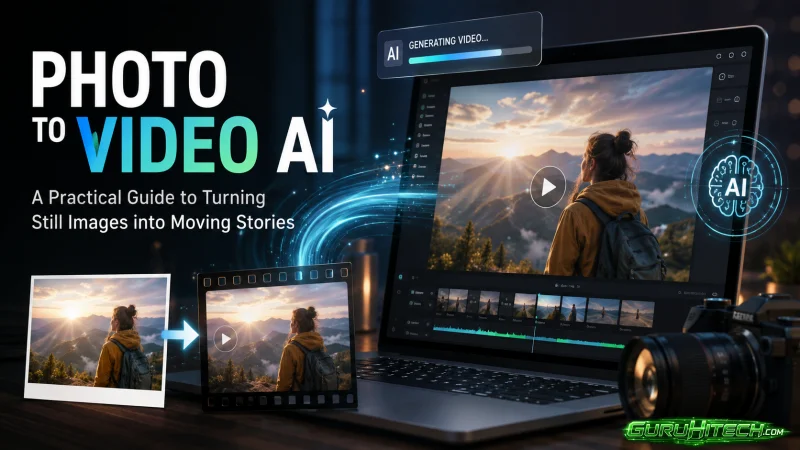
A strong photograph already contains a subject, composition, color palette, and visual mood. What it cannot provide is movement. A product remains fixed on the table, a portrait cannot blink or turn, and a landscape cannot reveal drifting clouds or rippling water.
Photo to Video AI changes that relationship between still images and video production. Instead of filming a new scene or building an animation frame by frame, you can upload an existing image and ask an AI video model to interpret how the scene should move. The photograph becomes the visual anchor, while a motion prompt directs the camera, subject, and atmosphere.
With an online tool such as Photo to Video AI, creators can test this workflow using multiple video models without first learning a traditional editing timeline. The platform is designed for portraits, product images, artwork, landscapes, marketing assets, and other single-image projects.
Why Photo to Video AI Is More Than a Novelty
The practical value of Photo to Video AI is not simply that it makes an image move. Its real advantage is the ability to reuse existing visual assets for formats that increasingly favor short video.
An online store may already have hundreds of polished product photographs but very few product videos. A marketer may have campaign artwork that needs to become a vertical social clip. A family may want to animate a portrait with gentle movement rather than create an exaggerated effect. Photo to Video AI gives each of these users a way to create a short video from material they already own.
The source image continues to guide the subject, colors, textures, and composition during generation. Consistency is not guaranteed—generative video can still alter faces, text, hands, logos, or product shapes—but a clear source image and restrained motion generally give the model a more reliable foundation.
Choosing a Model and Understanding Its Parameters
Photo to Video AI provides a multi-model workspace rather than tying every project to one generation engine. The homepage highlights model families including Google Veo 3.1, Kling 2.6 and 3.0, ByteDance Seedance, and Wan 2.6. The models and options visible to an individual user can depend on the currently enabled configuration and account access.
Model choice matters because duration, aspect ratio, resolution, audio, and reference-image behavior are model-specific.
For example, Veo 3.1 offers Fast and Quality variants with 4-, 6-, and 8-second duration choices. Its ratio controls include Auto, 16:9, and 9:16. Some reference-image modes lock the duration or ratio because the provider determines those settings from the selected workflow.
Kling 2.6 supports 5- or 10-second clips and optional provider-generated sound. For text-to-video, it offers 1:1, 16:9, and 9:16 ratios. In image-to-video mode, the output ratio follows the uploaded image instead of accepting a separate manual ratio.
Kling 3.0 provides more granular duration control from 3 to 15 seconds. It supports 16:9, 9:16, and 1:1, together with Standard, Professional, and 4K modes. Sound can be switched on or off. When an image is used as the first frame, the image can determine the ratio.
Seedance 2 supports durations from 4 to 15 seconds and offers 480p, 720p, and, on supported variants, 1080p. Its ratio options include 1:1, 4:3, 3:4, 16:9, 9:16, 21:9, and Adaptive. Optional generated audio is available at an additional credit cost.
These differences explain why there is no universally correct model. A quick preview, a portrait animation, and a polished advertising shot may benefit from different combinations of speed, resolution, sound, and motion control.
How to Use Photo to Video AI
Step 1: Create an Account and Prepare the Image
A free account is required because anonymous generation is not supported. New accounts receive 60 credits without requiring a credit card. Videos generated with registration credits include a small evaluation watermark, while paid plans provide watermark-free output, higher-resolution options, and commercial-use benefits under the applicable terms.
Prepare a JPG, PNG, or WEBP image that you have permission to use. Choose a sharp, well-lit source in which the main subject is easy to identify. Heavy compression, motion blur, blocked facial features, tiny subjects, and crowded backgrounds give the model less dependable information.
Each standard generation converts one photo into one video. If you have several photographs, process them separately with an individual prompt and format for each clip.
Step 2: Upload the Photo
Upload the image and inspect its framing before generation. Leave enough space around a person or object for the requested movement. A tightly cropped portrait may not contain enough information for a wide camera pullback, while a product touching the edge of the frame may distort when asked to rotate.
The photo already defines appearance, lighting, and composition. You do not need to redescribe every visible object in the prompt.
Step 3: Write a Motion-Focused Prompt
Describe what should change over time. A useful prompt can cover three elements: subject movement, camera movement, and atmosphere.
Instead of writing “a woman standing outside,” try:
The subject blinks naturally and makes a slight head turn. Her hair moves in a soft breeze while the camera slowly pushes in. Warm evening light remains stable.
For a product shot, you might write:
The camera makes a slow left-to-right orbit around the bottle. Soft reflections move across the glass while the label and bottle shape remain stable.
Focused prompts are easier to interpret than instructions containing several unrelated actions. If identity or product accuracy matters, begin with subtle movement. You can increase the motion after confirming that the first result remains recognizable.
The prompt is optional in the general homepage workflow, allowing a supported model to infer motion from the image. A written direction, however, provides more control, and particular models or specialized tasks may require one.
Step 4: Select the Output Settings
Choose a model before setting the duration, resolution, ratio, or sound because every model exposes a different control set. A vertical 9:16 clip suits TikTok, Instagram Reels, and YouTube Shorts. A 16:9 output fits YouTube, presentations, and display advertising, while 1:1 works well for product pages and social carousels.
Use a lower-cost resolution for early experiments when the selected model permits it. Move to 1080p only after the motion and subject consistency are satisfactory. Enabling sound or choosing a longer duration can increase the credit cost.
Photo to Video AI updates the estimated credit cost before generation, so review it after changing any setting.
Step 5: Generate, Review, and Refine
Start the generation and allow the selected model to render the clip. Processing commonly takes minutes, although the model, settings, and current queue can affect the wait.
Review the complete video rather than judging only its first frame. Watch faces, hands, product edges, text, logos, and background objects for unwanted changes. Also check whether the camera move remains smooth and whether generated sound, when enabled, suits the scene.
If a generation job fails, the credits charged for that failed job are returned automatically. If the job succeeds but the result is unstable, reduce the number of simultaneous actions and revise one instruction at a time.
Step 6: Download and Finish the Video
Successful generations can be downloaded as MP4 videos. Photo to Video AI handles generation rather than functioning as a full non-linear editor, so captions, music, transitions, multiple-clip assembly, and detailed timing adjustments may still require a separate editing application.
Free-credit results are intended for evaluation and include a watermark. For advertising, product pages, client work, or other commercial publishing, check the paid-plan terms and confirm that you hold the necessary rights to the source photograph.
Practical Ways to Improve Results
Begin with one clear motion objective. A gentle camera push-in and a natural blink are easier to preserve than a head turn, full-body walk, changing background, dramatic zoom, and weather transition happening together.
Match the prompt to the available image information. Do not request a full rotation when the photograph shows only the front of a detailed product. Do not ask the camera to reveal a room that does not exist outside the frame.
Protect important visual details explicitly. Phrases such as “keep the label readable,” “preserve facial identity,” or “maintain the original clothing design” can clarify what should remain stable, although they cannot guarantee perfect consistency.
Compare models with controlled inputs. Use the same image, prompt, duration, and approximate resolution when possible. Otherwise, you may be comparing different instructions rather than the behavior of the models.
Finally, treat the first generation as a draft. Photo to Video AI is most useful when you review, adjust, and regenerate deliberately instead of expecting every complex shot to work on the first attempt.
Where Photo to Video AI Fits Best
Photo to Video AI can turn a product photograph into a short showcase, animate a portrait with restrained facial movement, add atmospheric motion to artwork, or adapt an existing campaign image for vertical social media.
Its strength is creating short, directed motion from a finished image. It does not replace a full production crew for scenes requiring exact choreography, nor does it replace a timeline editor for long-form storytelling. Used within those boundaries, it offers a practical bridge between a photo library and a video-first publishing workflow.
The best results begin with a clear image, a single motion idea, and settings chosen for the destination platform. That combination turns Photo to Video AI from a visual experiment into a repeatable creative tool.
Ti potrebbe interessare:
Segui guruhitech su:
- Google News: bit.ly/gurugooglenews
- Telegram: t.me/guruhitech
- Facebook: facebook.com/guruhitechfb
- Instagram: instagram.com/guruhitech_official/
- X (Twitter): x.com/guruhitech1
- Bluesky: bsky.app/profile/guruhitech.bsky.social
- Rumble: rumble.com/user/guruhitech
- VKontakte: vk.com/guruhitech
- MeWe: mewe.com/i/guruhitech
- Skype: live:.cid.d4cf3836b772da8a
- WhatsApp: bit.ly/whatsappguruhitech
Esprimi il tuo parere!
Ti è stato utile questo articolo? Lascia un commento nell’apposita sezione che trovi più in basso e se ti va, iscriviti alla newsletter.
Per qualsiasi domanda, informazione o assistenza nel mondo della tecnologia, puoi inviare una email all’indirizzo [email protected].
Scopri di più da GuruHiTech
Abbonati per ricevere gli ultimi articoli inviati alla tua e-mail.