
What Small Sellers Should Check Before Using an AI Clothes Changer
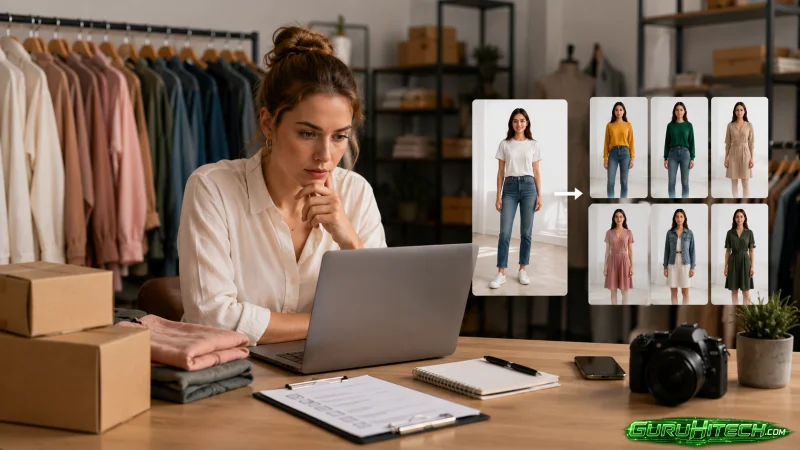
AI fashion tools are easy to judge from polished examples. A clean model, a perfect product photo, and studio lighting can make almost any demo look impressive. Small sellers usually work with something less perfect: phone photos, quick marketplace images, a wrinkled garment on a hanger, or pictures taken shortly before a listing goes live.
That does not mean an AI clothes changer is useless for small e-commerce teams. It means the tool should be tested with the kind of photos the seller actually has. The question is not “Can AI make a good-looking fashion image?” The better question is “Can this help me create a product preview I can review without hiding too many risks?”
Before using any AI try-on tool across a product catalog, sellers should run one small, controlled test and record what happens.
Start With the Photos You Actually Have
The first mistake is testing only with perfect assets. Standard images are useful for a baseline, but they do not reveal how the tool behaves with real seller material.
A practical test should use two kinds of images:
- a clear subject photo, ideally front-facing with the torso visible;
- a real garment image, not only a perfect studio packshot.
The subject photo does not have to be glamorous. It should simply show the person clearly enough for the tool to understand the body position, shoulders, waist, and visible clothing area. Hands should not block the torso. Heavy shadows, mirror glare, bags, or crossed arms can make the task harder.
The garment photo should show the full product. If a coat has lapels, a belt, cuffs, shoulder tabs, or a pattern, those details should be visible. If the item is cropped or partly hidden, the model may have to invent details, and that makes the output less reliable as a product preview.
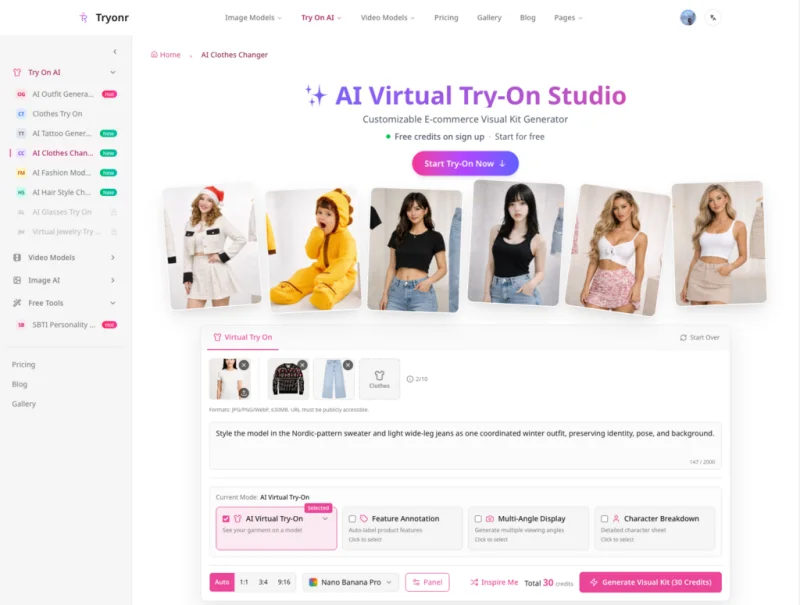
Tryonr puts the key choices in front of the seller: the subject photo, garment images, prompt field, selected model, and credit cost before generation. That is useful because it reminds sellers that the result depends on photos, settings, and instructions, not only on the model name.
Use a Prompt That Protects the Product
For an AI clothes changer workflow, vague prompts are risky. A prompt like “make it stylish” may create a nice image, but it may also change the garment too much.
A better seller prompt should protect the product details:
- preserve the color;
- preserve the neckline or collar;
- preserve sleeve length;
- preserve buttons, seams, belt, pockets, and visible structure;
- keep the original person, pose, and background as much as possible;
- avoid new logos, text, jewelry, handbags, hats, or extra accessories.
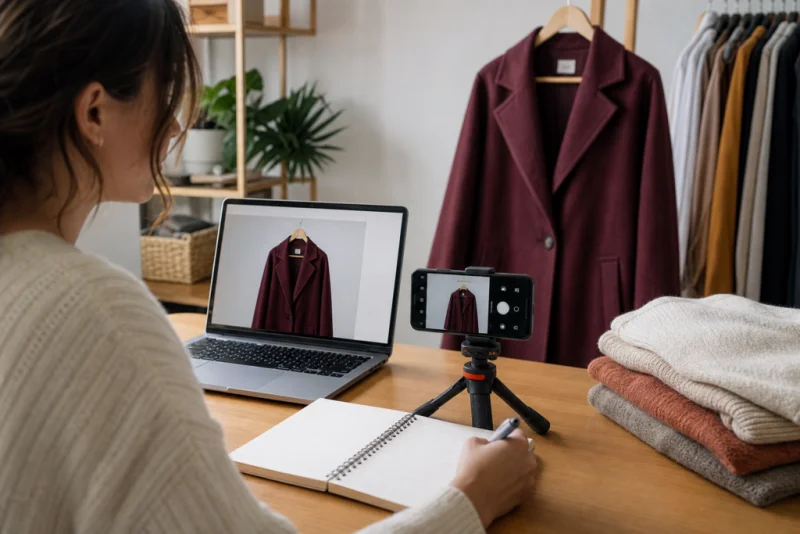
The goal is not to write a long prompt for its own sake. The goal is to reduce ambiguity. If a burgundy trench coat becomes a different red coat with different buttons, the output may be attractive but not useful for selling that product.
Check Credits Before Scaling
Credits matter because AI image workflows are iterative. One generation may not be enough. A seller may need to test a different garment photo, try a cleaner subject image, change the prompt, or generate several angles.
In Tryonr, the virtual try-on visual kit showed a 30-credit cost, while a separate video model workflow showed a much higher cost. Those numbers may change, but they make the practical point clear: sellers should check cost before running repeated tests.
For a small store, the first test should answer three budget questions:
- How many credits does one image workflow use?
- How many retries are usually needed?
- Is the result good enough for internal review, a draft product page, or only creative exploration?
If the answer is unclear, do not scale the process across dozens of products yet.
Look for Workflow Controls, Not Only Output Beauty
A useful AI fashion tool should make the process understandable. Tryonr separates several modes, including AI Virtual Try-On, Feature Annotation, Multi-Angle Display, and Character Breakdown. The Multi-Angle Display section offers individual angles, a composite grid, front view, back view, side view, 45-degree view, close-ups, and custom angles.
That matters for sellers because one image is rarely enough for a product listing. A catalog page may need a main image, a side view, a detail view, and a feature-focused image. If a tool can separate those assets, the seller can plan a product-visual set instead of treating AI as a one-click novelty.
Still, each image needs review. Check whether the garment structure remains consistent across angles, check whether close-ups invent details. Check whether feature labels are accurate. If the visual set changes the product, it should not be used as a final listing image.
Check Privacy and Gallery Settings
Many sellers forget privacy until after they upload an image. That is a mistake, especially when using personal photos, unreleased products, or brand assets.
Tryonr’s outfit generator also makes gallery visibility part of the workflow, including a notice that free users’ creations may be displayed publicly in the community gallery and an upgrade path for private generations. That is an important workflow detail. A seller should check public/private settings before uploading anything sensitive.
For a first virtual try on clothes online free experiment, use safe test images. Avoid unreleased brand assets, identifiable customer photos, licensed campaign material, or anything that should not appear in a public gallery. If private generation is required, confirm that setting before the run.
Review the Output Like a Product Editor
After generation, do not judge only by first impression. Review the result like a product editor:
- Does the garment still match the original product?
- Are the collar, belt, sleeve, and hem believable?
- Did the tool change the person’s face or body too much?
- Are hands, hair, and edges distorted?
- Are there fake logos, text, or labels?
- Would the image mislead a buyer about fit, fabric, or product details?
This review step is not optional. AI can make a product look more polished than the seller’s original photo, but polish is not the same as accuracy.
A Safe First Test
A sensible first test for a small seller is simple:
- Choose one product with clear details.
- Upload one clear subject photo and one realistic garment image.
- Use a prompt that tells the tool what to preserve.
- Record the selected model, aspect ratio, credits, and visibility settings.
- Generate one output.
- Review product accuracy before using the image anywhere public.
If the result is useful, run a second test with a less perfect input photo. That will reveal whether the workflow can handle real seller conditions or only polished demos.
AI clothes changing can be helpful, but it is most useful when treated as a controlled process. For small sellers, the real advantage is not magic. It is a faster way to create visual drafts, provided the seller still protects product accuracy, privacy, and human review.
Scopri di più da GuruHiTech
Abbonati per ricevere gli ultimi articoli inviati alla tua e-mail.